This post may contain affiliate links. This means I will make a commission at no extra cost to you should you click through and make a purchase. Read the full disclosure here
GB Studio has my heart as a beginner’s, bite-sized game engine! GB Studio’s point and click capabilities are perfect for narrative-based games, which can be more accessible to beginner game devs. If you’re not familiar with GB Studio, it is a no-code-necessary game engine by Chris Maltby for making game boy or emulator games. If you’re interested in me singing my GB Studio praises, read more in GB Studio: The Best No Code Game Engine For Beginners.
GB Studio Scenes
One of the best functionalities of GB Studio are the scene types. Scenes in game engines are essentially environments where a specific part of a game happens. For example, when you start up a game and are brought to a main menu, and then click load game, you are changing scenes. And different scenes focus on different things. Using the previous example, the main menu scene is just that, a scene focusing on the menu.
The ability to choose different pre-built scene types might be why GB Studio is so beginner-friendly. Instead of getting into tutorial hell for how to set-up your first top down, you can start making the fun parts of your game that stand out. For some beginners, that might be the narrative, but for others, you might start with a unique game mechanic. You can choose what to focus on first with pre-built scenes!
The options GB Studio has for scene types are “Top Down 2D” (think old Pokemon games), “Platformer” (think Mario games), “Adventures” (honestly come back to me on this one. This is a newer type, and I think it is just a beefed up Top Down 2D), “Shoot ‘Em Up” (think Space Invaders), “Point and Click” (the topic of our article! Think detective-puzzle games!), and “Logo” (just a static splash screen like Nintendo’s iconic one).
Point and Click Scenes
For the Point and Click scene, the mechanics are subtle, but helpful. Changing scenes to point and click makes the scene’s triggers work differently. And triggers are just things in your game that trigger a certain event (such as an animation or displayed dialogue). If you look at the difference between a Top Down 2D scene trigger and the Point and Click scene trigger, the Point and Click triggers will have events that can be added on interaction, or “On Interact,” while Top Down 2D scene triggers will have events that can be added on initialization, or “On Init.”
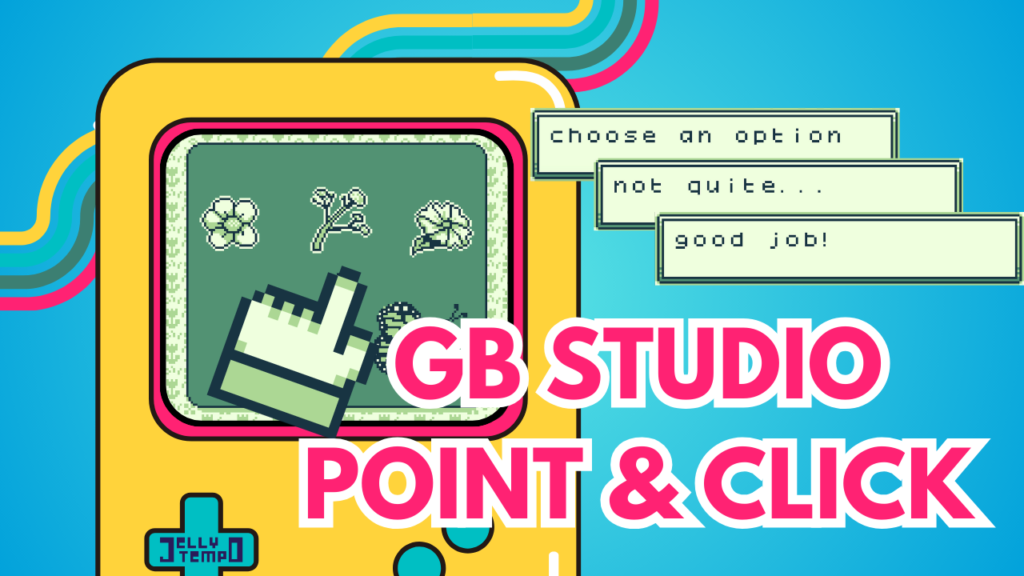
If the above didn’t make sense, don’t worry! With the walkthrough, I will be providing a demonstration with a scene in development from a tiny game I am creating. The game is is a visual story called “Hillary,” based off an autobiographical experience. You can keep an eye on it on my itch.io page. Anywho! I’ll be using pictures from “Hillary,” for GB Studio click and point demonstration purposes.
At the end of the walkthrough, you will have a scene where the player has to choose between three objects, then needs to check the choice to advance to the next scene. You can also add a fun “dragging” mechanic at the end to make the gameplay a little more fun at the end!

Making a GB Studio POint and Click Scene
Lastly, before the walkthrough and for inspiration, if you’re interest in checking out a popular, free point and click made on GB Studio, check out Cryohazard on itch.io. This can give you some inspiration for how cool point and click’s can be, even when made with a tiny game engine
Now let’s get started with making this point and click scene in GB Studio! If you’re a visual learner, my YouTube video Make a GB Studio Point and Click Scene is for you! It’s at the bottom of this article, and it will cover all of the below steps!
Set Up Your Click and Point Scene in GB Studio’s Game World Window
First thing you will need is a rough mockup of the scene with the three options to choose from. While I love GB Studio for its beginner-friendly interface, the inevitable downside are the limitations. Implementing a point and click scene in other engines can be done in several different ways, and you could get quite creative with it, but for GB Studio’s limitations, it is encouraged to make the choices a part of the background art. This will make your workflow easier, especially if the mockup is accurate to the general sizing of the end scene.
Once that is done, we can get started with setting up the point and click scene! Click the plus button in the game world window, and choose scene.
Select the new scene and you can rename it at the very top.
Select the drop-down under type, and select “Point and Click.”
Upload your mockup background image by navigating to the images window in GB Studio. You can drag and drop your mockup background image underneath background to import it. Remember this image can look ROUGH, but the sizing of the game elements should be correct. Additionally, a good default GB Studio background resolution size is 160 pixels in width and 144 pixels in height.
In my scene, you have to choose one of three flowers for the butterfly below.
Navigate back to the Game World window and click on the Background drop-down. Now add the mockup art you just uploaded.
Add Triggers to the Point and Click Scene
So, we have implemented GB Studio’s Click and Point. In this step where we add triggers, we will see how point and clicks work mechanically.
First, click on the scene’s title, and click add event. The specific event we want is “Variable Set to Value.” This variable will be used to check if the player made the correct choice. Set the global variable of your choice to 0, by typing 0 under value. Remember the variable you chose, because we will be using it later. I choose global variable 2.
Now, add triggers to the choices by clicking the plus button in the game world window, and choose trigger, and drag over the space, without lifting your mouse, over the first trigger.
Complete this step for the next two choices and the “check” you might have. My check is the butterfly in the bottom right corner.
Now click the trigger over the choice that is correct in your scene. For my scene, flower number 2 aka the middle flower will be the correct choice. Add the event “set variable to value” and select the global variable, and set it to 1.
Click the triggers over an incorrect choice, and add the event “set variable to value” and select the global variable, and set it to 2.
Repeat this step with the second incorrect choice.
Add Point and Click Mechanics to your Scene
Now, it is time to implement the mechanic that checks if the player made the correct choice! I will be calling this the checker. For my scene, if the player clicks the butterfly after the correct flower, it will display that the choice was correct. If they chose flower 1 or 3, the incorrect flowers, then it will give the player another opportunity to try again. Lastly, if the player didn’t make a selection at all, it will prompt the player to make a choice.
This will require a large if statement. The way you build this if statement doesn’t matter so much as the end if statement’s order of events, so be mindful of that! Our if statement will consist of checking for the correct choice, checking for the incorrect choice, and checking if the player has chosen anything at all.
First to check for the correct choice, create a trigger over your checker. Click on that trigger, and add the “if” event. Under condition, change the variable to the global variable and the number 1. Beside the word “true,” add the event display dialogue. I will add the dialogue “good job!” to let the player know they made the correct choice.
Now to check for incorrect choices. This part of the statement will eventually go under the else part of the if statement. You can expand the else part, by clicking on it and adding an event. Under this else part, click the event display dialogue. I will add the dialogue “not quite…” to let the player know they did not make the correct choice, and subtly prompting them to try again.
Edge Cases in your Point and Click Scene
Now to check in case the player has not chosen anything at all before clicking on the butterfly. Remember, we are still working under the checker trigger. I will make a separate if statement by clicking add event under the initial if statement, and the event I will add is “if variable compare with value.” This is actually the same as the “if” event, and I wanted to demonstrate that! Under condition, set the global variable to 0. Under true, add event “display dialogue.” I will type “choose an option.”
This is the global variable’s default value, and if it hasn’t changed, that means the player did not select a choice, so this will prompt the player to choose an option.
Now to put it all together! Drag the initial if statement we made into the else part of of the last if statement (under the “choose an option” if statement). This will create a nested if statement that will first test if the player chose an option, then if the option was correct, and then if the option was incorrect.
Congrats on making a POint and Click in GB Studio!
You did it! You created a multiple choice point and click scene!
For the fun part! We can make this point and click more snazzy by adding a pseudo dragging function! Because GB Studio click and points don’t have the very common “drag” function pre-built, we can do a pseudo-drag by changing the cursor sprite asset with the event “set player sprite sheet” to reflect the selected option under each trigger! Check out the YouTube video below for how to set that up!